How to build your own bee-proof cat run...
Up
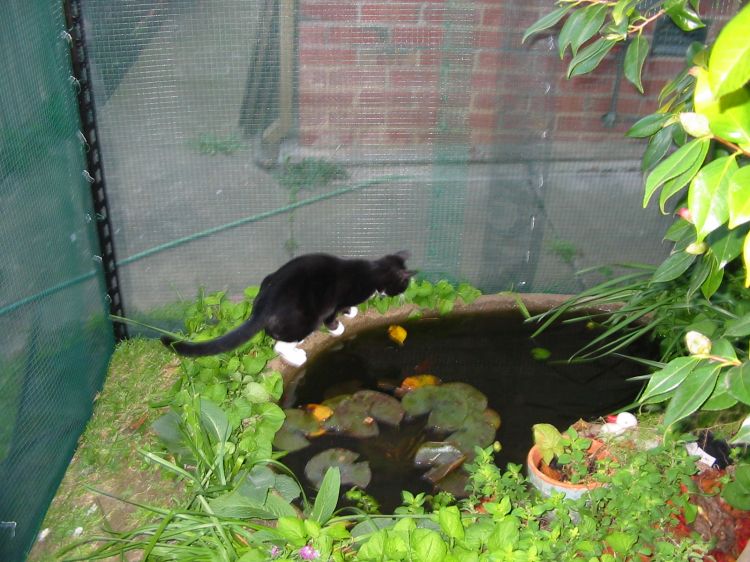
The cat run (2005)We discovered that our cats (Minke and Selby) love anything that flies, including bees. Minke and Selby chase, catch, play with, and eat bees. At first we thought it weird but harmless until Selby was stung on her lip. She was most unimpressed...but it didn't stop her doing the same thing next time she was outside. A few weeks later Selby was stung again, but this time it was much worse...she almost died from an allergic reaction to the sting.
As a result, we decided to build a cat run/enclosure that is bee-proof... Features
Dimensions
Materials
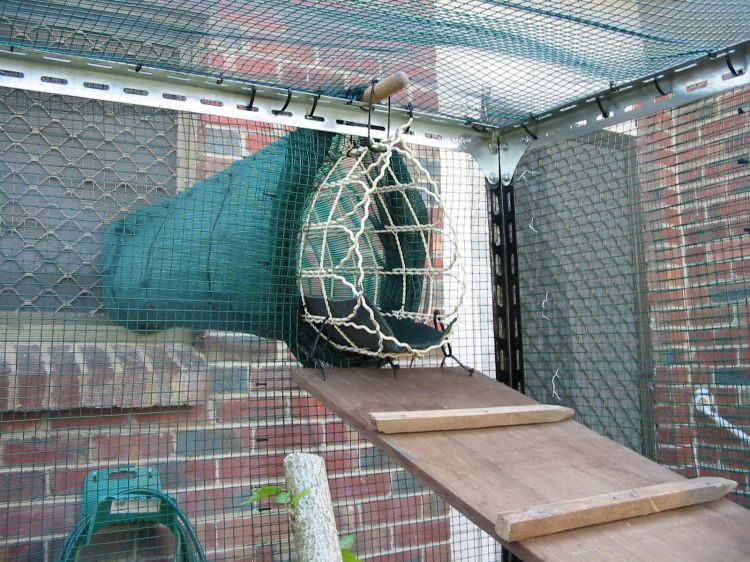
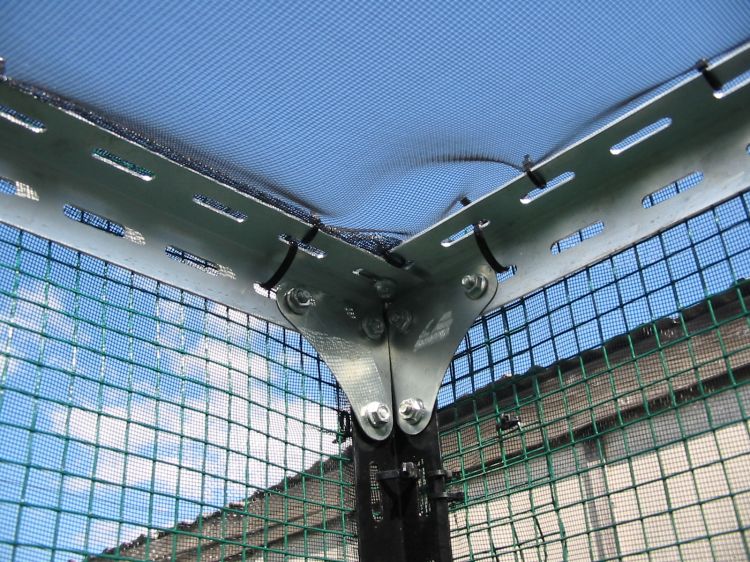
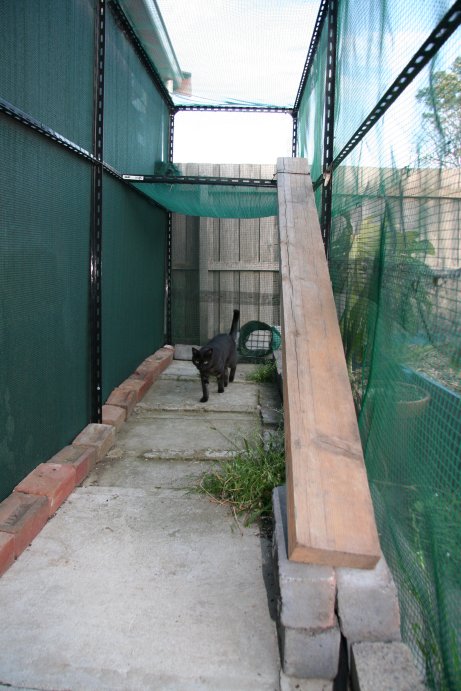
CostAbout $800 AUD Design the enclosureOur cat run is square (3m x 3m), with walls about 2m high. There is a narrow door in one wall. This is essential, because we cannot fit down the chute! We need to get in there to collect poo and mow the grass. Along another wall there is a bench. The bench is used for many of the features - the chute descends to it, the hammocks and rain shlter are built on it, and the feance-post-ramp leads up to it. Also, the bench gives more rigidity to the structure. Put it togetherThe frame
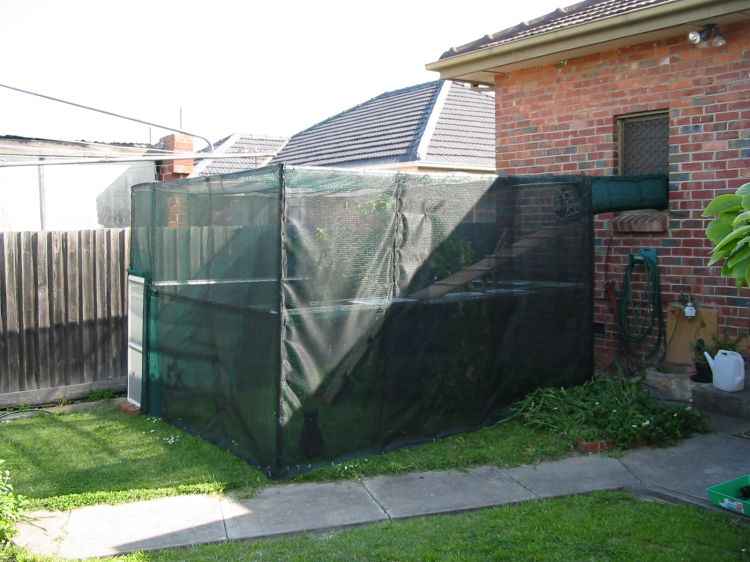
The meshNow that the frame is up, you can start putting up the wire mesh. I found this fiddly but fairly straightforward. The whole enclosure had to be covered except for the door, which came already covered with flywire. The mesh came in 50m rolls so I just cut them to size and attached them to the frame with cable ties. 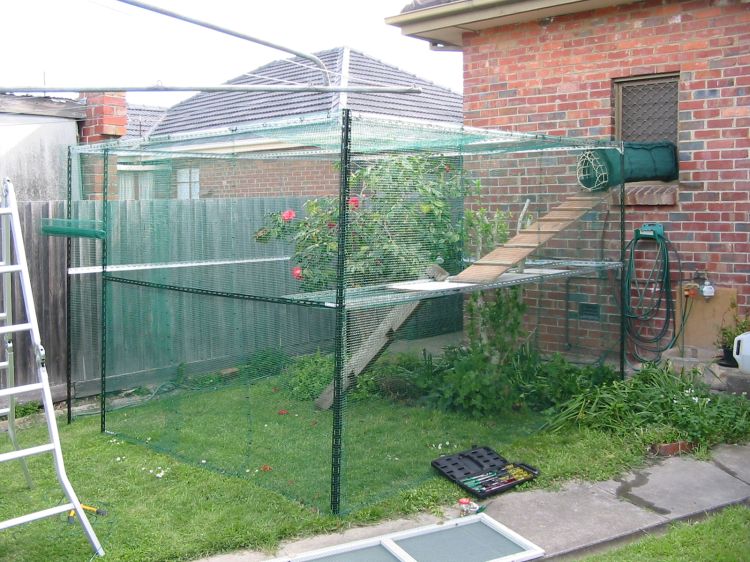
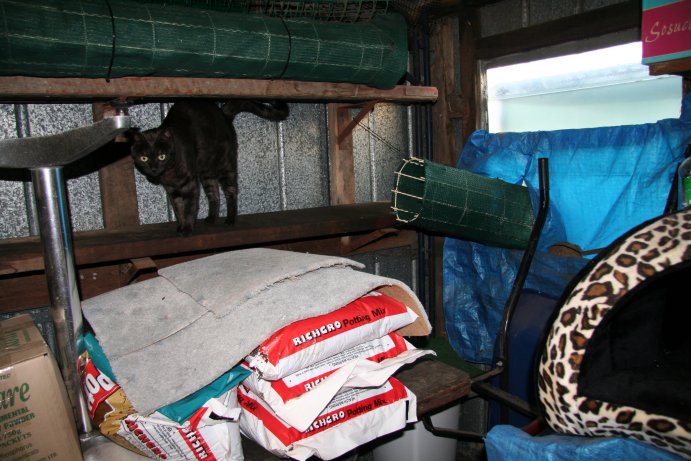
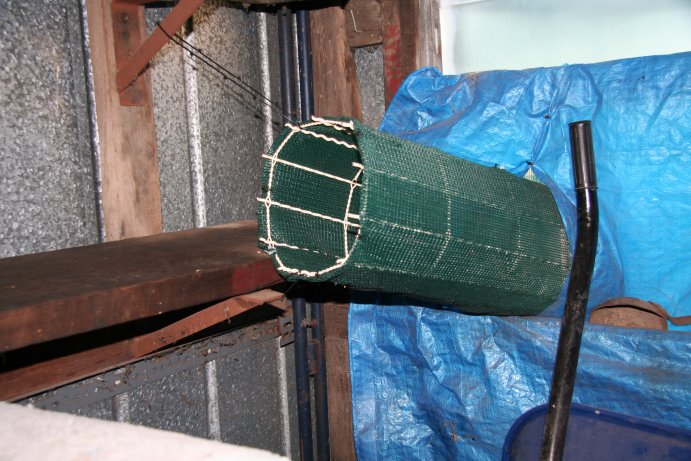
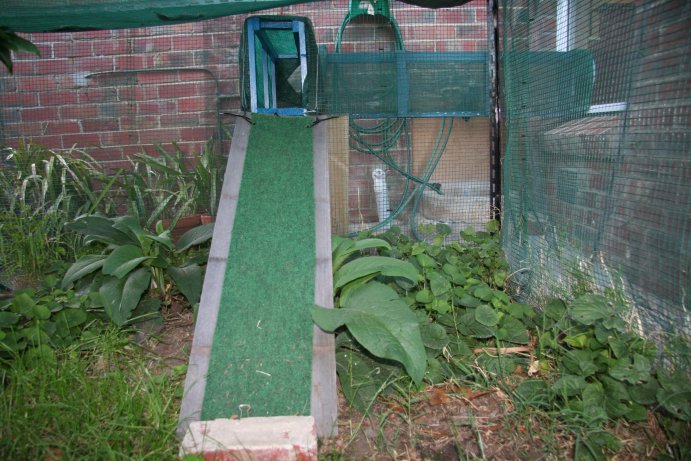
The chuteAfter the mesh is up, it's time to make the chute from the house to the enclosure. Here's what I did:
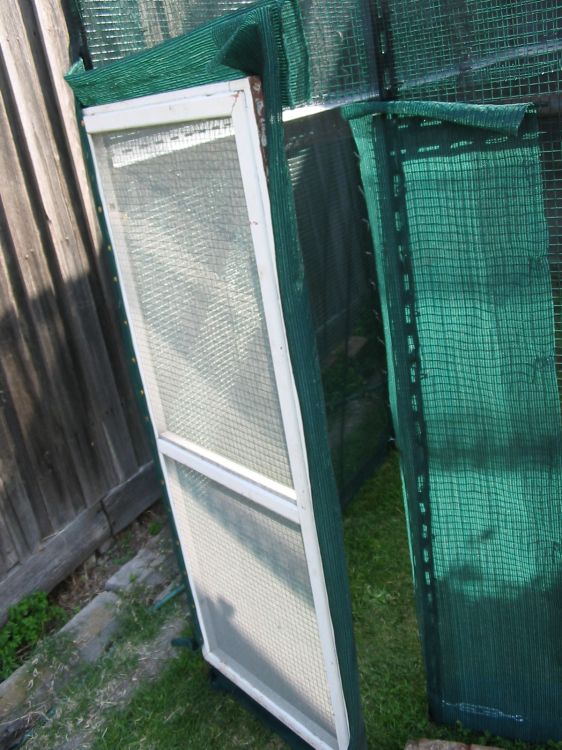
The doorAt the tip I also found a little door which already had flywire on it. However, the flywire was only nylon, which cats can scratch through, so we decided to use the same green metal mesh to cover it too: cat-proof and bee-proof. We put hinges on it...and cable-tied the hinges to the frame. When the door was closed, it wasn't quite bee-proof. There was a bit of a gap between the door and the enclosure wall. To make it bee-proof, we stapled flaps of shadecloth to both the door and the door-way. These flaps overlap when the door is closed, keeping out bees.
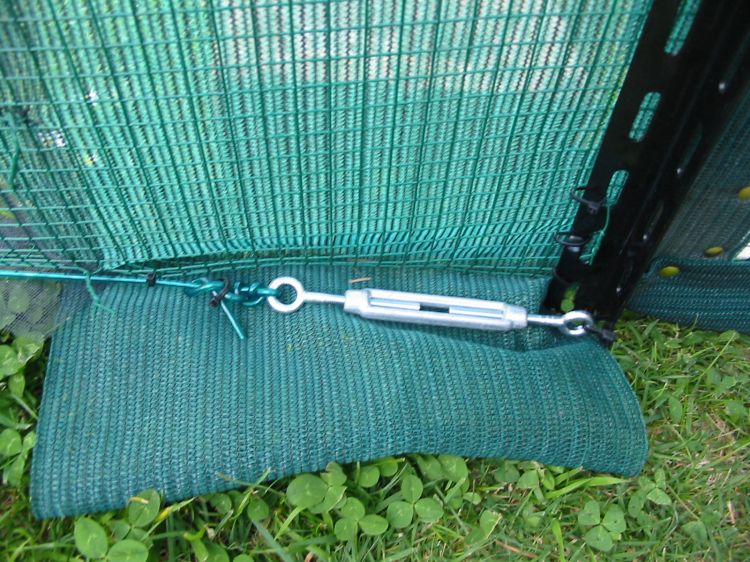
The bee-proofingAt this point the cats could come and go into the run without escaping. However, we still had to put the flywire up. This took the longest time and used the most cable ties. We cut long strips and tried to cover as much of the area as possible without needing overlaps. Where there were overlaps, we joined the sheets of flywire using cable ties. To make sure that the bottom of each wall was bee-proof, I ran a piece of plastic-coated cable around the bottom of the run (except for where the door is). This gives the mesh and flywire something to attach to at the bottom. I used a wire tensioner to tighten the cable. We cable-tied the mesh and flywire to it, then used a few tent pegs to lock the wire to the ground. This stops bees and cats getting under the walls.
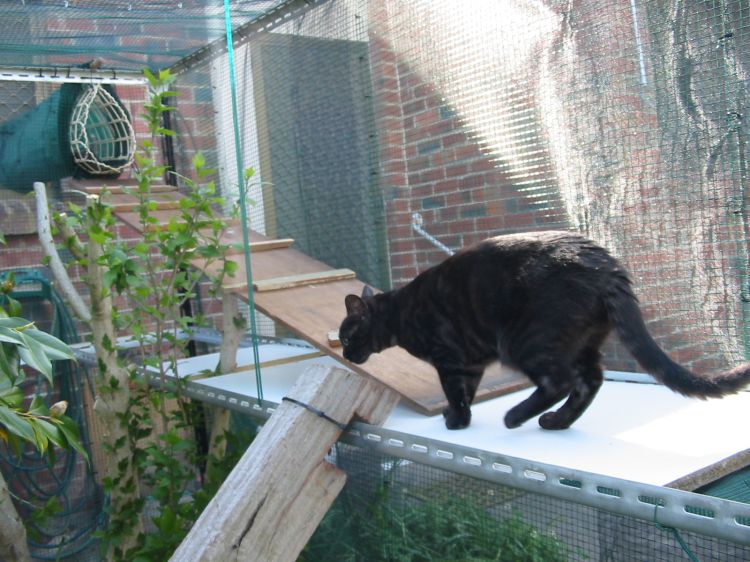
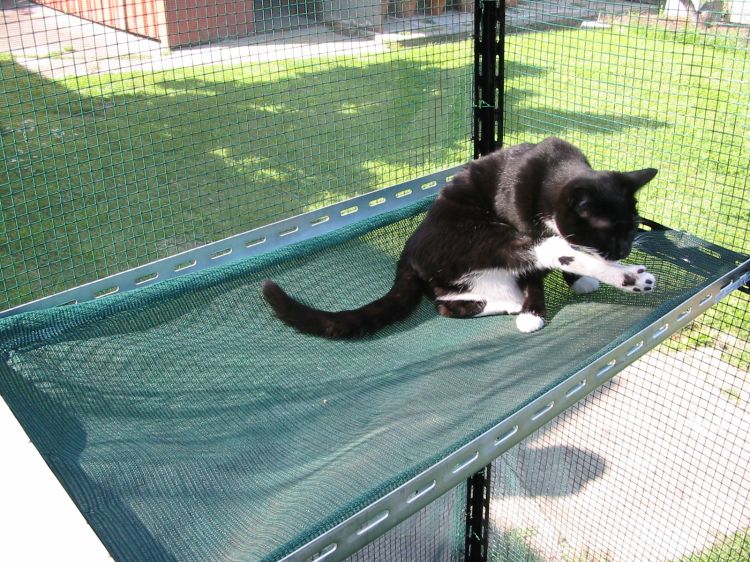
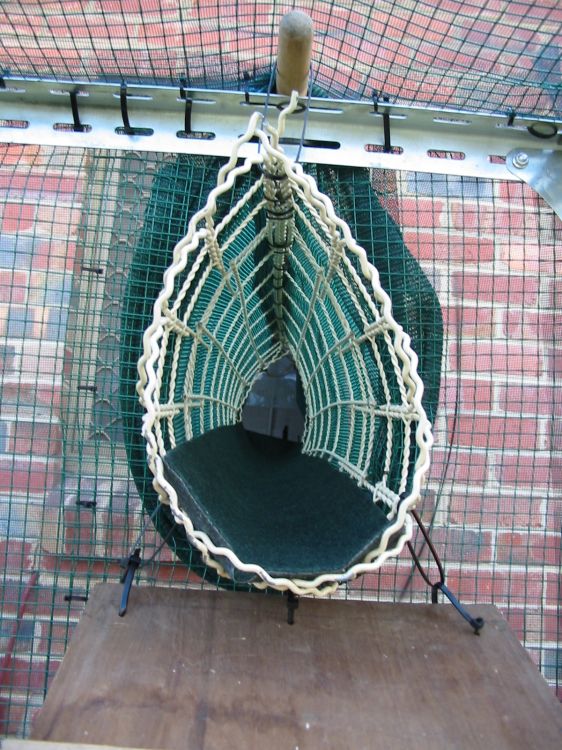
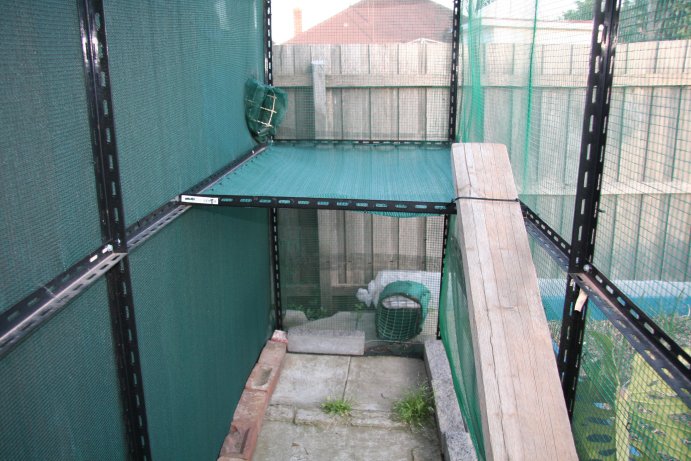
The bench, hammocks, rampsAll that was left was the bells and whistles. To make the bench, I laid two pieces of laminated chipboard between the two 3m rods. At each end of the bench I made hammocks out of shade-cloth...attaching them with cable ties. I cable-tied an old fence pole from the bench to the ground which is used by the cats to get from the ground to the bench. I made a little ramp with steps to get from the bench to the chute...you guessed it...it was cable-tied onto the chute.
MaintenancePoo Cats like to poo in dirt. There is only a limited amount of it in a cat run, so we put a kitty litter tray in the cat run, with some dirt mixed into their normal kitty litter (Breeders Choice). Mowing Our cat run includes some lawn, and it needs to be mown. We let the grass get a bit long, because they like to be hunting tigers in the shoulder-high savannah. ReferencesFor more photographs of the cat run click here. The extension (2006)I got a little carried away with an idea for extending the cat run because I noticed rats in our garage. I decided the problem might go away if our cats hung out in the garage. I built a tunnel from the existing cat run to a new cat run which had another tunnel that allowed the cats to get into the garage.
The tunnelThe tunnel runs from the existing cat run along the side fence to the back fence then along the back fence to the new cat run. It is about 18m long.
The tunnel is made out of plastic garden trellis and Biomesh. The trellis is cut into lengths of about a meter and its ends are joined with cable ties to make a tunnel section. Each tunnel section is joined to make the lengths needed to join both cat runs. The Biomesh is like fly wire but stronger. It allows plenty of air to get into the tunnel and it is see through. The Biomesh was used to keep the bees out. The new cat runThe new cat run is built the same way as the existing cat enclosure. The only real difference is that it is on cement. The cats love rolling on the cement!
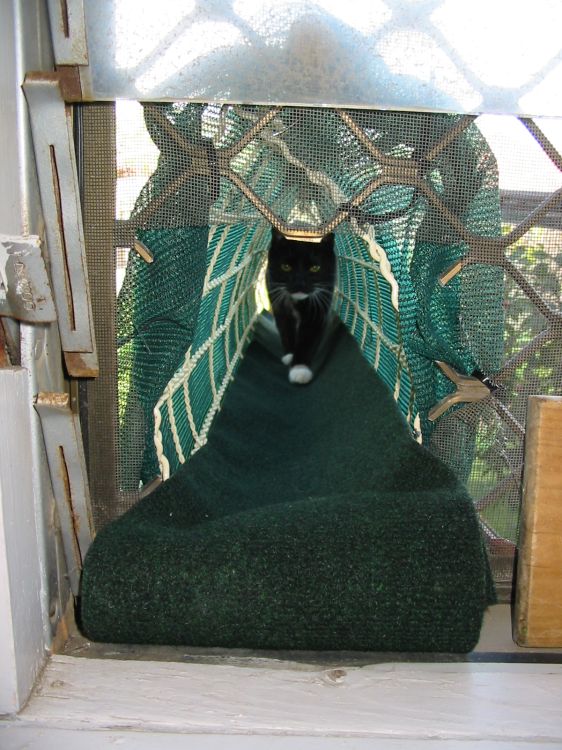
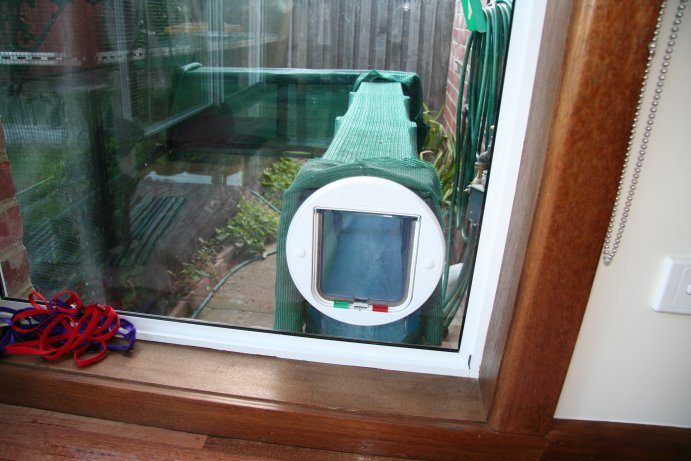
The new enclosure has a ramp up to a large hammock. At the end of the hammock is a tunnel that joins the new cat run to the garage. The door is made out of a wooden trellis. The new chuteWe also had to upgrade the chute because we did some renovations and the window that the old chute connect with was removed. The old chute is gone and it has been replaced with a cat flap which opens into a wooden tunnel. The tunnel joins into the old cat enclosure a little bit below where the old chute joined. The tunnel is covered with shade cloth. It took Minke one day to learn how to use the cat flap and it took Selby about four days.
The cat flap was installed by Pet Doors Australia for $175 AUD including the flap itself. |
|


Up
All photographs are © Trudi Ersvaer, 1994 - 2006